Saturday, May 10, 2014

Toasted Coconut Butter Cookies


I shared how to make toasted coconut butter a few days ago. If you are anything like me then you've been enjoying it straight from the jar. After many spoonfuls of this treat it dawned on me that I could probably make cookies with it. I looked up my tahini cookies recipe and tweaked it a bit. The result was pretty fantastic and a new instant favorite. These cookies are soft and slightly nutty while being free of many common allergens. Enjoy!


Toasted Coconut Butter Cookies

Gluten Free, Vegan
Makes 5

1/2 cup toasted coconut butter, semi-soft
2 medjool dates, pitted 
1 chia egg (1 tbl ground chia seeds mixed with 2 tbl water)
1/4 tsp baking soda
1/8 tsp sea salt
1/3 cup chocolate chips


  1. Add the dates to a small food processor and pulse until finely broken up. 
  2. Add the remaining ingredients, except the chocolate chips, to the food processor and pulse until a dough forms.
  3. Dump dough into a bowl and mix in chocolate chips. It may seem a little oily, especially if it got warm, and the chocolate chips may not stick into the dough, don't worry, just mix them in after it chills (step 4)
  4. Place the bowl into the freezer for about 10 minutes to let the dough firm up. 
  5. Scoop rounded tablespoons and roll FIRMLY into a ball, then press down onto a parchment lined baking sheet. It is important to press this dough together or the cookies will fall apart easily. These cookies spread and rise just a little so shape them into the size and height you want.
  6. Bake on 350oF for 10 minutes or until the top is not shiny. These will be pretty dark (and you will be hovering around the oven thinking your burning them) but don't undercook or they won't hold together well.
  7. Let them cool COMPLETELY before lifting. They will break if you try and move them before they are cool. I like to slide the piece of parchment onto a cooling rack or the counter to speed up the process.
  8. Store in the fridge or freeze for later. To be honest we always eat all of this within the 24 hours so I don't know how long or well they keep. : )


Notes and Substitutions


  • You can use a flax egg (I tested and preferred the chia) or a real egg (I did not test but I don't see why it wouldn't work)
  • If you prefer a different sweetener try 3 tablespoons of coconut sugar or 2 tablespoons of maple syrup or honey.
  • I know you can buy/make un-toasted coconut butter. I haven't tried this recipe with it but I think it might work. If you do then please let me know in the comments section.
  • These cookies are naturally more crumbly than traditional cookies so handle with care.

Blend the dates
Blend the rest of the ingredients to form a dough
Mix in chocolate chips

After freezing for 10 minutes, scoop out balls
Firmly roll and flatten dough into cookie shape
Bake on 350oF for 10 minutes, cool completly


What is your favorite type of cookie?

Monday, May 5, 2014

Toasted Coconut Butter

Today's post is more of a "how to" than a recipe. I have been making my own coconut butter (sometimes called coconut manna) for sometime now. It is great in baking or slathered on some waffles, and is a simple way to make your own coconut milk. You can simply mix a few tablespoons with a cup of water and it is instant coconut milk. The process is simple enough; you blend unsweetened dehydrated coconut shreds or flakes in a food processor for about 10 minutes until it turns into liquid deliciousness. I came across the idea of making toasted coconut butter while reading one of my favorite blogs. I have made this several times now and always find myself eating scoops of it straight out of the jar. Toasting the coconut gives it a nutty flavor which is a nice change from our usual almond butter. I have also been serving it in place of peanut butter for "ants on a log", and I made some AMAZING cookies out of it (check back for the recipe later this week). I recommend making a lot of this at once as it will store for a long time. Enjoy!

Toasted Coconut Butter

Gluten Free, Vegan
Makes about 1.5 cups

Ingredients
5 cups unsweetened coconut shreds


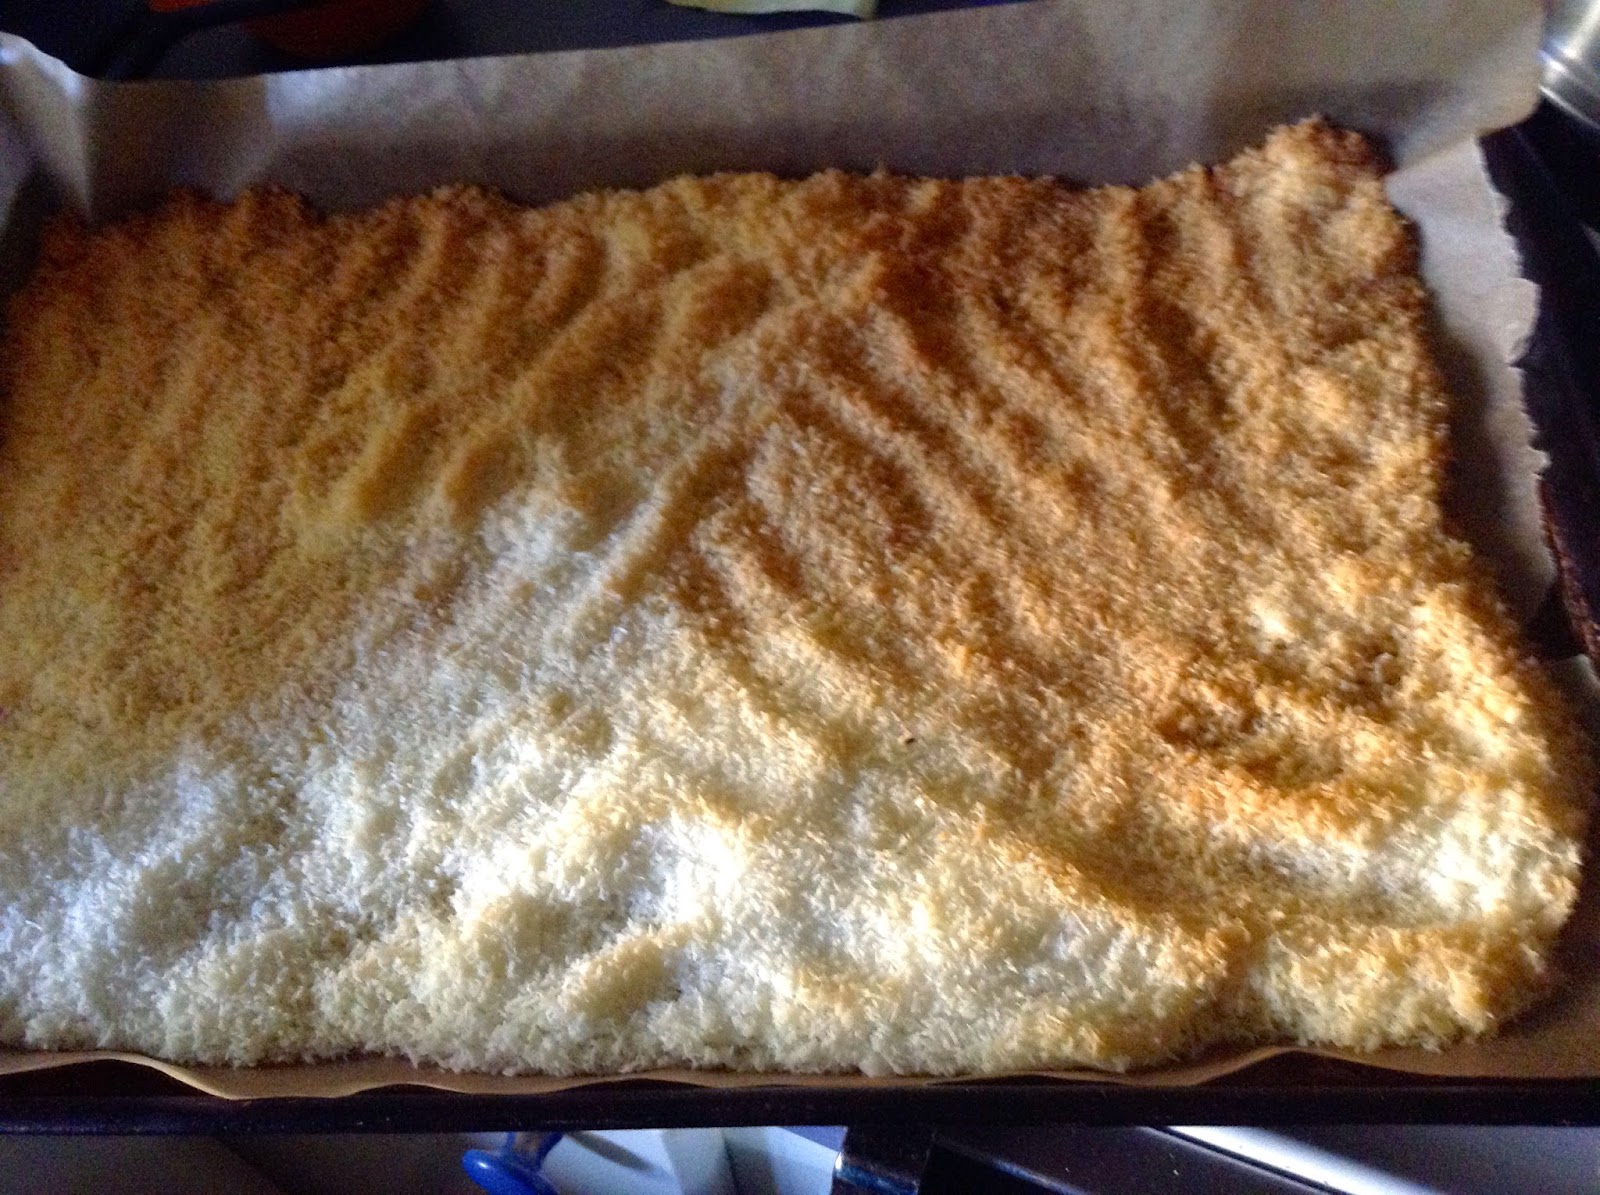
  1. Spread the coconut shreds onto a parchment lined baking sheet. The kinds with sides is easier.
  1. Baked on 350oF for about 10 minutes. Stir with a wooden spoon and bake an additional 3-5 minutes. You want almost all of the coconut to be browned and smell fragrant but watch it closely so it doesn't burn. Oven's are all different so I recommend checking it every couple of minutes the first time you make it.
  1. Let the shreds cool.
  1. Add the toasted shreds to a food processor and begin blending. After 1-2 minutes scrape down the sides and continue blending. 
  1. Repeat until a smooth liquid butter forms. Mine only took 4 minutes and then I blended a minute longer to get it extra smooth.
  1. Pour into a mason jar for storage.
  1. You can store this on the counter for a few weeks or much longer in the fridge. It will get very firm in the fridge so I recommend keeping a small jar on the counter and extra in the fridge. 


Notes and Substitutions


  • You can make more less by adjusting the amount of coconut shreds, however I don't recommend doing less than 3 cups as it blends better when the food processor is fuller. Also it reduces quite a bit. 
  • This will be very liquid when you first make it but usually firms up at room temperature after a day. If you need it to firm up faster then just pop it in the fridge or freezer for 30 minutes.
  • You can add flavors such as vanilla or bacon


Spread onto a baking sheet, the kind with sides is easier


Bake on 350oF for about 10 minutes
Stir

Bake an additional 3-5 minutes until fragrant

Add to a small food proccesor

Begin blending

Scrape down the sides

Blend until smooth


What is your favorite "butter"?

Friday, April 25, 2014

Bunny Food Slaw and Airy Green Dressing


I have to apologize, I've had this recipe sitting on go since last weekend but between the holidays, birthdays, and general mommy/wife duties I forgot to post it. It may be to late for your Easter/Passover/Blood Moon celebrations but I promise if you try it then you will be making it all spring! 
The food table at one of our holiday/birthday celebration


I never liked coleslaw when I was a kid. Maybe it was because the only kind I was exposed to was the gross stuff from the fast food fried chicken restaurant (no offense if you like it! I like some "gross" stuff too, ever had scrapple?) As I've gotten older and exposed to more varieties of coleslaw it has really become one of my favorite foods. It's crispy, refreshing, and satisfying. This recipe was born after I made this amazingly light dressing for our weekly salads, I knew it would be perfect for coleslaw. Enjoy!


Bunny Food Slaw

Gluten Free, Vegan
Makes about 5 cups

1 small head of red cabbage
10 small radishes
7 medium carrots
3 green onions, finely sliced
1 recipe of "airy green dressing" found below


  1. Shred the cabbage, radishes, and carrots. You can use a spiralizer, salad shooter, julienne peeler, or simple finely slice them. 
  2. Add them to a large bowl with the green onions, pour the dressing over, and mix well. 
  3. Let it marinate for at least 4 hours but preferably over night in the fridge. It will reduce in volume by about 1/2 overnight. Taste and add more salt if desired.
  4. Store for about 5 days in a sealed container in the fridge. 


Notes and Substitutions


  • You can use any mix of vegetables that you like, but I enjoy the color of the purple cabbage.
  • Serve this as a side with Siracha, as a dip with celery sticks, or on top of burgers.


Airy Green Dressing

Gluten Free, Vegan
Makes about 2 cups

2 small green apples, cored
1 small ripe avocado, peeled and pitted
1 lemon juiced, about 3 tbl spoons
1/4 cup olive oil
1/4-1/2 cup water
1 tsp salt
1 tsp dry dill weed
1/2 tsp black pepper

  1. Remove the core from the apples and scoop out the flesh of the avocado.
  2. Add all of the ingredients to a blender and blend until smooth. You may have to add more water to get it to blend.
  3. Store for 4 days sealed in the fridge or freeze in an ice cube tray.

Notes and Substitutions

  • I like to make a half batch of this dressing for our weekly salads.
  • You can use other dried or fresh herbs instead of dill. I like the way the dill looks though. I think basil, sage, thyme or mint would taste great!
  • You can use any variety of apple you like, but I prefer the tartness you get from green apples. 
  • I leave the skin on the apple and because my blender is not powerful it is not completely smooth. You can't tell in the coleslaw but if you are making this as a salad dressing and you don't have a high-powered blender then I would peel them.


What is your favorite way to make coleslaw?

Thursday, April 17, 2014

Beautiful Root Soup


I was tempted to call today's recipe "beet soup", but the truth is that when I make this it doesn't always contain beets. I love recipes that are adaptable; my husbands favorite version of this recipe could easily be called "carrot soup" as I exchange the beets out for carrots. I however like to color the beets give, and I like using up all the extra beets I have! This recipe cleans out the bottom drawer of my fridge and helps me use up sweet potato scraps I have from making "noodles" (see picture). I've done many variations and I always get a thick, creamy, and satisfying soup. Enjoy!


Leftover from making sweet potato noodles


Beautiful Root Soup

Gluten Free, Vegan*
Makes 4-6 Cups (depending on preferred thickness)

3 cups 1/4 inch chopped carrots (about 6 medium)
1 heaping cup 1/4 inch peeled and chopped sweet potato (about 1 small)
1 cup 1/4 inch chopped beets (about 2 medium)
2 tbl coconut oil (or sautéing oil of choice)
4 chopped green onions or 1 tsp onion powder
About 4 cups of stock (vegetable, chicken, or beef)
1 palm length piece of turmeric root (see picture) or 2 tsp turmeric powder
1 tsp garlic powder or 2 fresh garlic cloves
salt and pepper to taste (I do a teaspoon each)
2 tbl coconut butter or pastured butter or olive oil


Fresh turmeric


  1. Heat a few tablespoons of coconut oil over medium heat in a cooking pot.
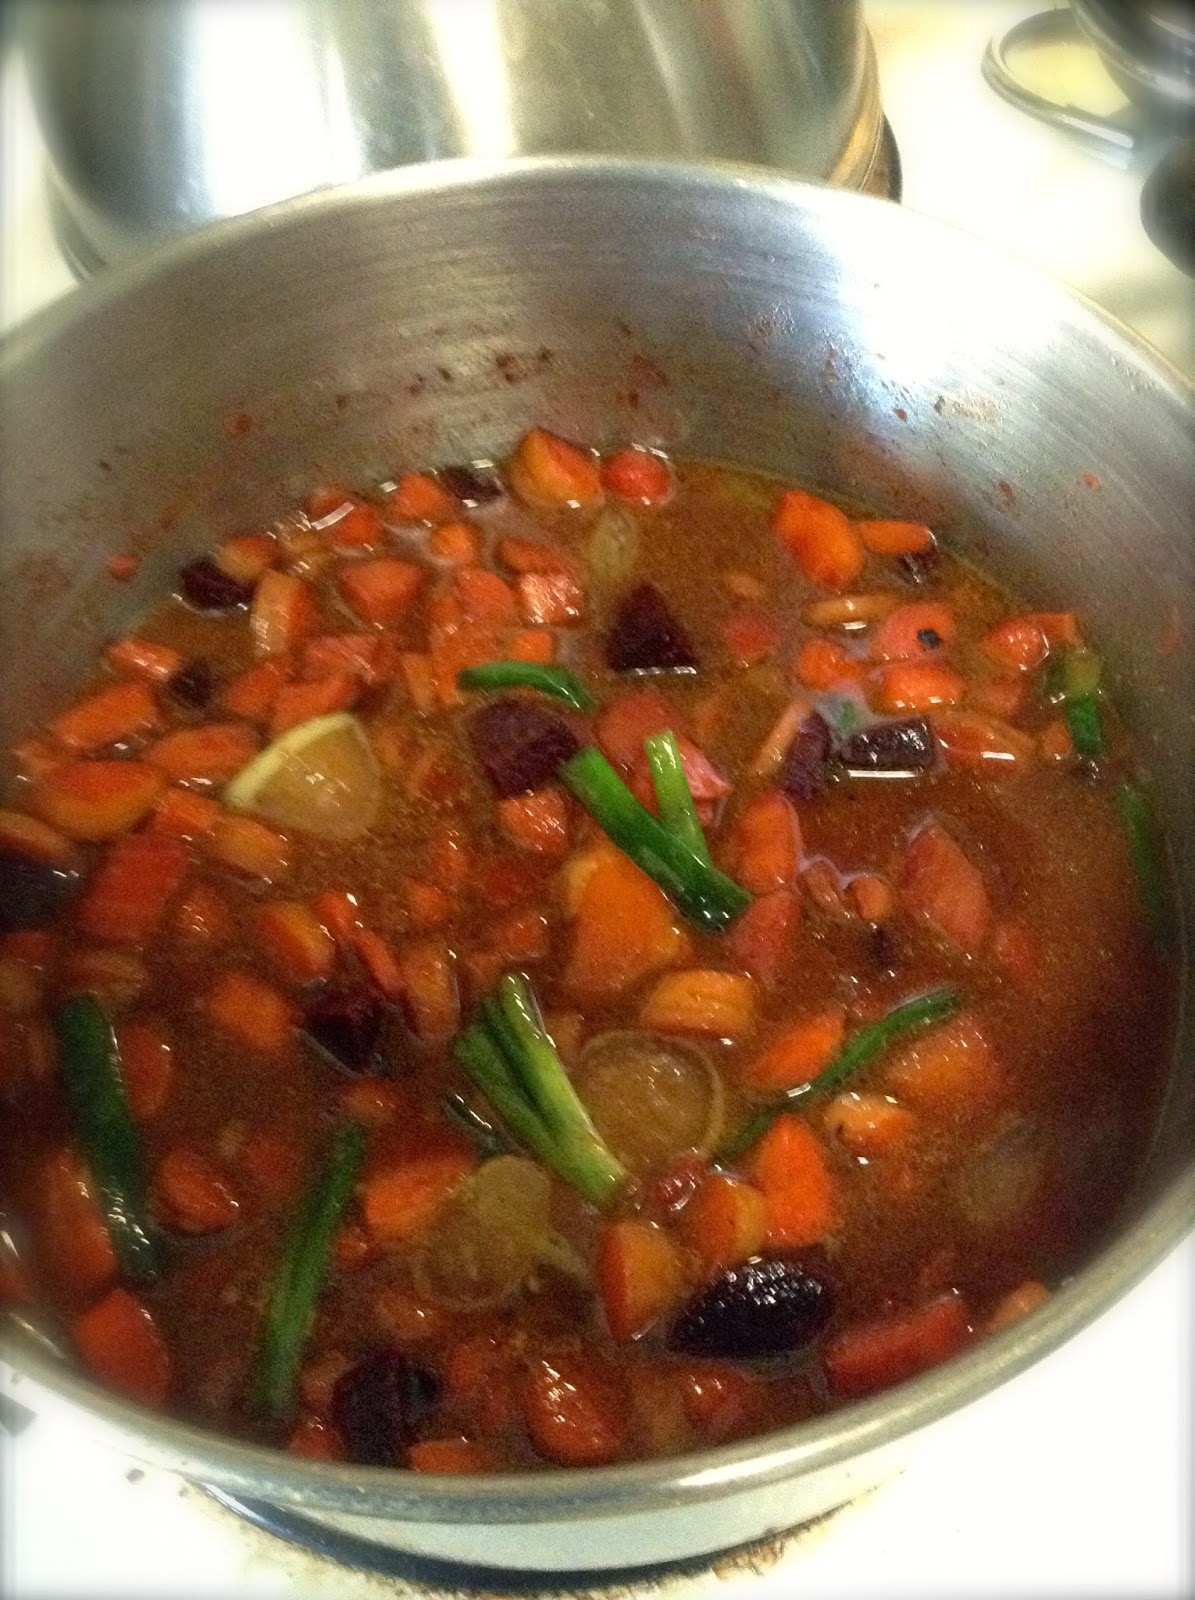
  2. Rinse your carrots, beets, and peeled sweet potato and roughly chop. Add them to a pot and stir.
  3. Cook the veggies for about 10 minutes until they begin to soften. You can add a little stock if they start burning or sticking to the bottom of the pan. I freeze stock in an ice cube tray and just add a few cubes in as needed.
  4. Once the veggies are tender enough to be pierced with a fork add the onions, turmeric (no need to chop), and other spices. Cover with the stock and then bring it to a boil and then turn it off.
  5. Let the soup cool some and then add it to a blender with the coconut butter (if you have a small blender then work in batches). Puree until smooth, adding more stock or water if needed. Be careful if your soup is still hot as blending hot liquids causes a lot of steam.
  6. The soup can be reheated in the pot or stored for several days in the fridge or frozen.


Notes and Substitutions


  • This soup will thicken if it is stored in the fridge but will re-liquify when heated. You can always add a little stock or water.
  • I prefer this soup made with beef bone broth but chicken and vegetable are great too. I think you could probably use water but you may want to include more herbs and spices for flavor.
  • *To make this soup vegan use vegetable stock (check the ingredients label if its not homemade) and use coconut butter or olive oil. 


This recipe is very adaptable and (as you can tell by the ingredients) you don't need to be to0 exact. I regularly change it up. Please let me know in the comments sections about any changes you make and how they came out!


Do you have any recipes to help clean your fridge out?


Friday, April 11, 2014

Banana-Chip Sunflower Cookies


Our son has reached that age where he is aware of what I am eating, and wants to try it. Now I try not to be the food police, I don't think a bite of ice-cream will hurt him (and it is pretty adorable how he goes 'mmmm'), but I do draw the line at food coloring, high fructose corn syrup, and anything with modified ingredients. Though I've been ducking in the kitchen to steal a bite of ice-cream every now and then, I wanted to make a treat that I could share with my son without worry of too much sugar or upsetting his tummy. Today I whipped up these low sugar cookies. They are sweetened only with banana and the chocolate chips but have a really complex flavor and soft chewy texture. Enjoy!


Sunflower Seed Flour


Banana Chip Sunflower Cookies


Gluten Free, Vegan
Makes about 14 small cookies

1 1/2 cups sunflower seed flour*
1 small yellow banana
1/2 cup chocolate chips
2 tbl coconut oil
1 tsp vanilla powder or extract
1/2 tsp baking powder
1/2 tsp cinnamon
1/8 tsp sea salt


  1. Combine all of the ingredients, except the chocolate chips, in a food processor and blend until a batter forms. It will be thick and sticky
  2. Add the chocolate chips and pulse several times to combine. 
  3. Scoop rounded tablespoons onto a parchment lined baking sheet and flatten. These cookies do not spread or rise much so shape them to whatever size and thickness you like.
  4. Baked on 350oF for 10 minutes. The cookies will turn lighter and less shiny when they are done.
  5. Cool for at least 10 minutes. Store sealed on the counter or freeze for later.


Notes and Substitutions

  • *To make the sunflower seed flour grind sunflower seeds in a food processor or coffee grinder until fine but not to long or it will turn into butter. I like to soak my sunflower seeds for 8 hours and then dry them on low in the oven. I think it improves the taste and digestibility but it's not necessary.
  • You can use raisins instead of chocolate chips.


Before baking


After baking


What is your favorite type of cookie?

Friday, April 4, 2014

How To Build A Better Salad


Do you ever get on kicks with certain foods? Lately my husband and I have been on a salad kick. Maybe it's instinctual, as lettuce is abundant at the farmers market right now, or maybe its the warmer days teasing us with spring? Whatever the reason I am all for a salad fest, they are super easy to prepare ahead of time and a great way to get extra veggies into your diet. I think salads have this stigma of being a health food, and they can be healthy, but you thats no reason you can't enjoy them and get the most out of them both nutritionally and taste-wise.


Step 1) Pick your base

I love making my own salad mixes. I'm pretty obsessed with the beautiful 'boutique' lettuces at the farmers market. I like to do a mix of crunchy and tender varieties, as well as something more bitter or some herbs. If you don't have time then there are some great premixed, pre-washed brands. Even big retailers usually have a big organic salad mix, or you can buy a few of the pre-made varieties and mix them yourself. Salad should keep for at least a week, I like to put a paper towel in the container to soak up extra moisture that might make it wilt.
A Couple Of Blends I Like To Make:
Romaine, bibb, chopped spinach, and cilantro (sweet)
Red leaf, baby kale, and dandelion (savory)


Step 2) Top with lots of veggies

I think where a lot of people go astray is with the toppings. You can turn a healthy salad into diet disaster pretty quickly. I forgo croutons and mountains of cheese for lots of chopped veggies. By chopping the veggies small you can get more on there. We also like to use leftover sautéed veggies as a topping, and beet chips for something that crunches! You can pre-cut up vegetables and store them in separate containers in the fridge until your ready to put together the salad.
Topping Choices We Like:   
mushrooms
carrots
celery
cauliflower
red bell pepper
cucumber (only in season)
tomatoes (only in season)
grapes
strawberries
blueberries


Step 3) Pick your protein

Unless your just having a side salad you need some protein (and fat, but we'll get to that in a minute) to make your salad filling. Don't think a grilled chicken breast is your only, or even best, option. Any leftover meat or eggs (I like them with a runny yolk as the dressing) are great animal proteins. Hemp seeds, lentils, and cooked quinoa are excellent vegan sources of protein. Salads are a great way to make your meat go further because you can fill up on less.


Protein Ideas:
Thinly sliced roast leftovers (My husbands favorite, goes great with this dressing)
Chicken legs ( I leave it on the bone and just eat it with my salad)
Meatballs (I've been adding liver to them lately for extra nutrition)
Hemp Seeds or Quinoa (They are a complete protein source for vegans)


Step 4) Add some fat

I know I've said this before but I'm hoping repetition drives it home, you need healthy fat in your diet and you especially need it to assimilate many of the nutrients in vegetables. Fat also satiates your hunger better than protein and carbohydrates.
Favorite Fat Picks:
Olive oil
Avocado
Egg yolks
Nuts or Seeds (almond and cashews personally)
Goat Cheese (it is easier to digest and I can find it made locally)


Step 5) Dress for success

I think the biggest salad faux pas is low fat dressing. See 'step 4'! Salad dressing is a really great opportunity to add nutrition to your salad. Most store-bought dressings are high in sugar and vegetable (unhealthy) oils, as well as extra ingredients to keep them looking nice and shelf stable. I am a fan of homemade dressing because you can control what is in it and customize it to your preference. It doesn't have to be time consuming. You can add olive oil, lemon juice, herbs, and salt to a jar and shake; and most dressings freeze well. 
Dressings To Try:
Homemade Honey Mustard: whisk equal parts olive oil and mustard together and then stir in honey to taste.


The salad pictured is kale, wakame and carrots marinated in lemon juice and olive oil, with red leaf added in right before eating. It got topped with leftover veggies and roast, runny-yolk eggs, nutritional yeast, and home-made sauerkraut. 

Happy Crunching!